how to change your voicemail greeting on a samsung
Turn your phone off for 10 seconds and then back on. Place a test call to 611. Do one of the following: If the test call is successful, press and hold 1 to dial into the voicemail system. If your test call fails, confirm you have wireless coverage. If Visual Voicemail won't download, press and hold 1 to check your messages.
how do i change my voicemail greeting on iphone 12
can't change voicemail greeting on iphone 8

how to change voicemail greeting att iphone
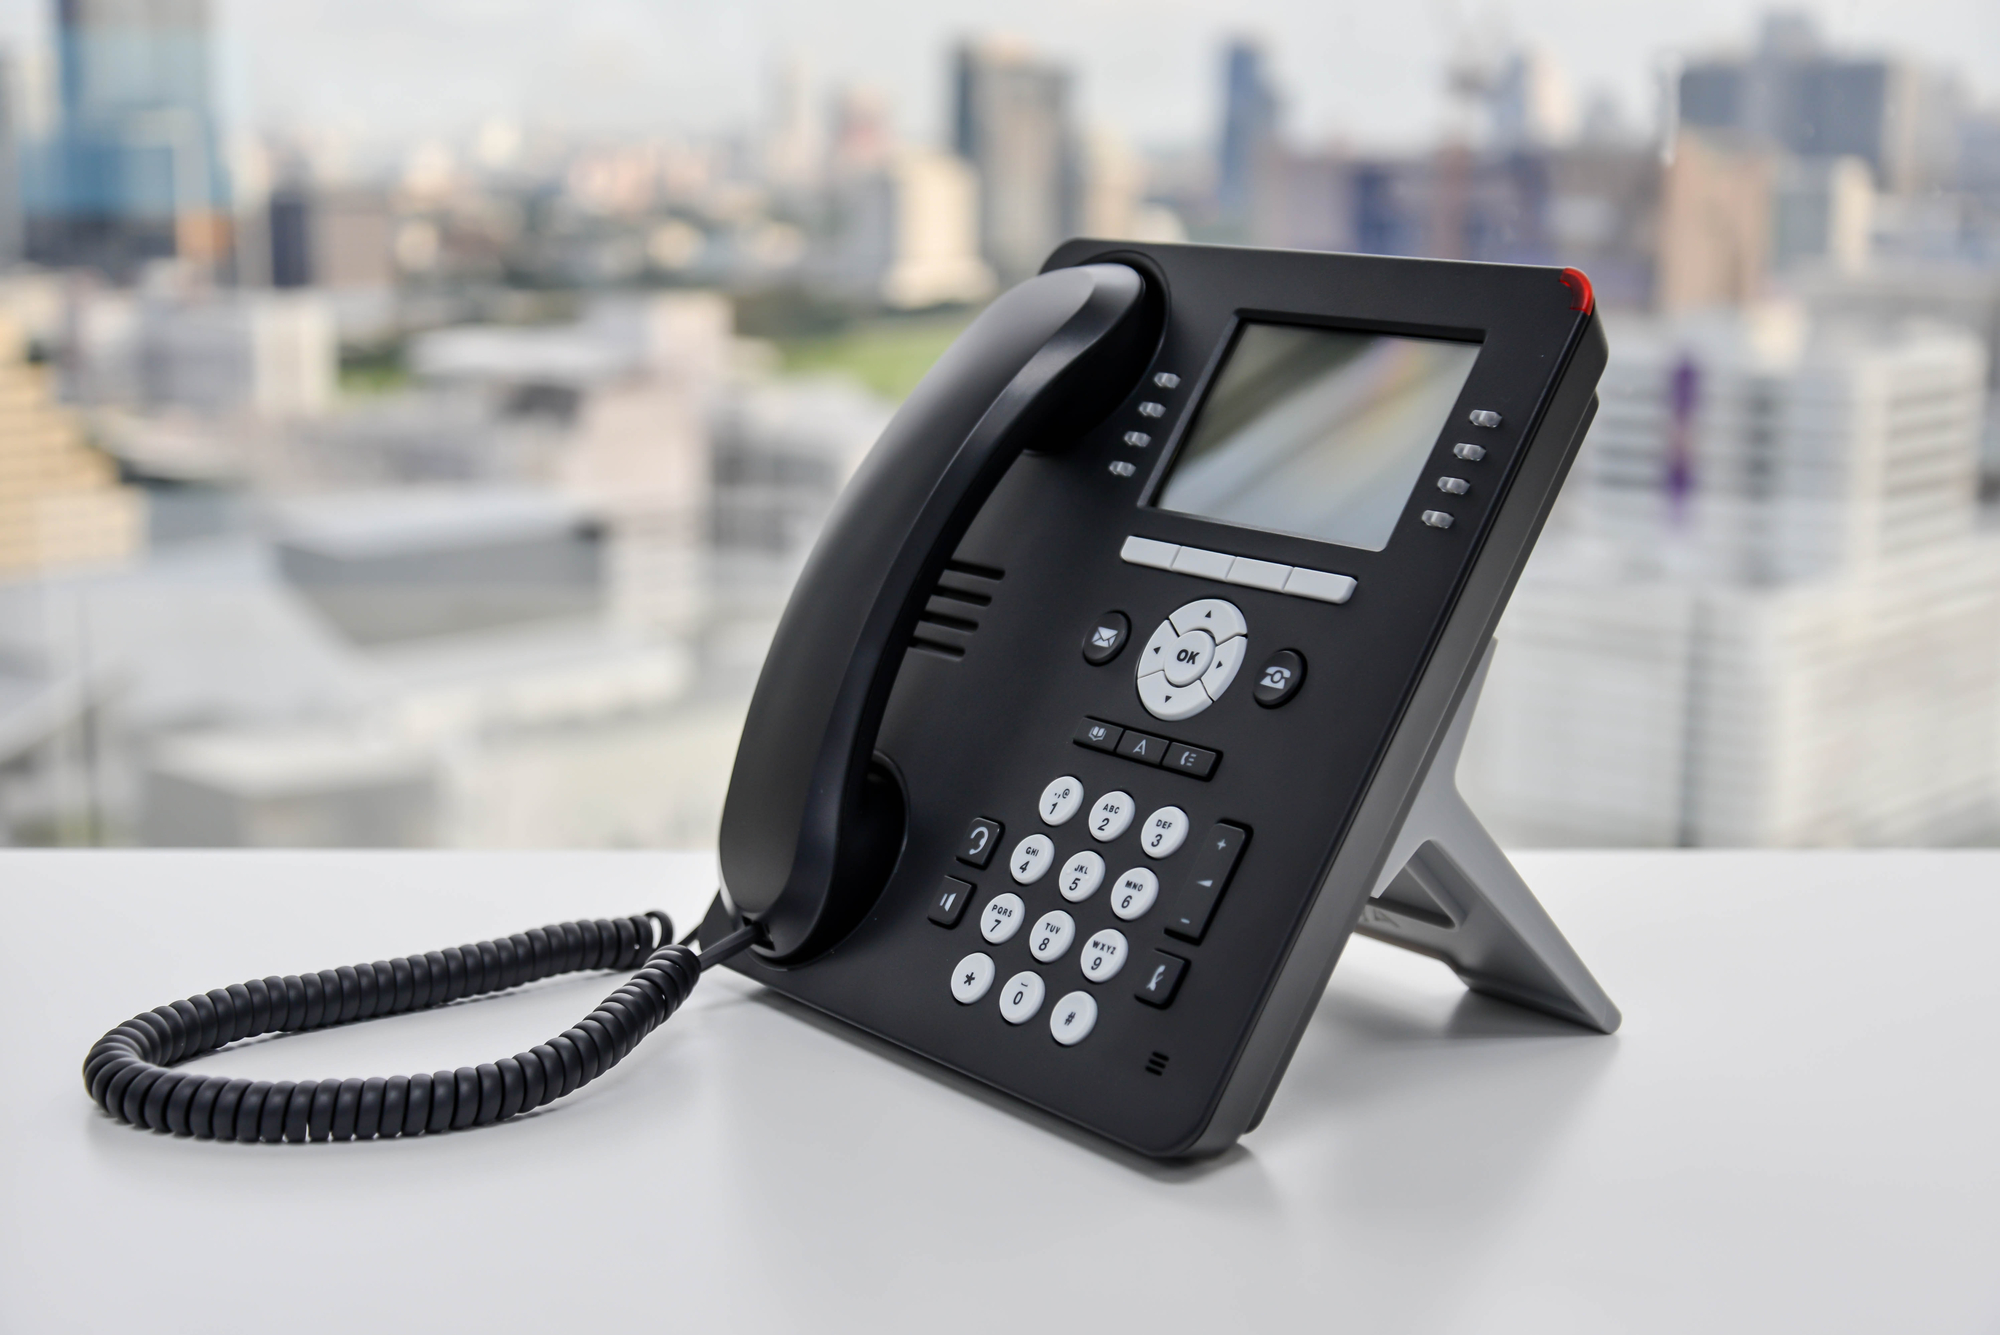
how do i change my voicemail message on a cisco phone

how to change my voicemail greeting three
professional voicemail greeting holiday

how do i change my voicemail greeting on my iphone 11
how to change your voicemail message telstra

how do i change my voicemail message remotely
how to change my voicemail message on android phone

example professional voicemail greeting
how to change voicemail message from another phone